A warehouse layout is a set of decisions about how goods and people move, frozen into concrete and steel. Once racking is bolted down and processes have set into habit, the cost of moving them is high — so the thinking is cheap now and expensive later. Yet most Philippine SMEs lay out a warehouse by intuition: put the racks where they fit, the office by the door, and figure out the rest as they go.
The result is a building that works against its own operators. Pickers walk kilometres a day for fast-moving SKUs stored at the back. Trucks queue because receiving and dispatch fight over the same dock. Inventory piles up in aisles because staging was never sized. This guide lays out the flow-first way to design a warehouse — from the shape of the goods' journey down to aisle widths and slotting — and how to build in the room to grow.
Design the flow before the floor
Every warehouse runs the same core sequence: receiving, put-away to storage, picking, packing, and dispatch. Efficiency comes from making that sequence a smooth line rather than a series of collisions. Before drawing a single rack, map the journey of a typical order from the truck that delivers it to the truck that ships it, and count the times it stops, turns, or crosses its own path. Each crossing is a place where two flows contend for the same space.
Two layout shapes dominate. A U-shaped flow puts receiving and dispatch on the same side of the building, with storage looping between — efficient for shared dock doors and cross-docking, and forgiving of a single-frontage lot. A through-flow (I-shaped) layout runs goods straight from receiving at one end to dispatch at the other, which suits high-volume operations and keeps inbound and outbound completely separate, at the cost of needing docks on two sides.
Docks: the choke point you design around
Dock placement dictates everything downstream, because it fixes where goods enter and leave. Undersized or badly placed docks create queues that ripple back onto the street — a real problem in Philippine industrial areas where trucks waiting to unload block narrow compound roads and trigger the ire of neighbouring locators.
Separate inbound and outbound docks if volume allows; sharing them forces receiving and dispatch to negotiate for the same doors and turns your busiest hours into a standoff. Give each dock enough apron for your largest vehicle to manoeuvre — a 40-foot container plus its chassis needs roughly 30 to 35 metres of clear swing. And size the staging area behind each dock generously: goods land there before put-away and gather there before loading, and a staging area that is too small backs the whole flow up.
Aisle width: the trade between density and speed
Aisles are pure overhead — floor you cannot store on — but starving them costs more than it saves. Width is set by your handling equipment, and choosing equipment and aisle width together is one of the highest-leverage layout decisions you make.
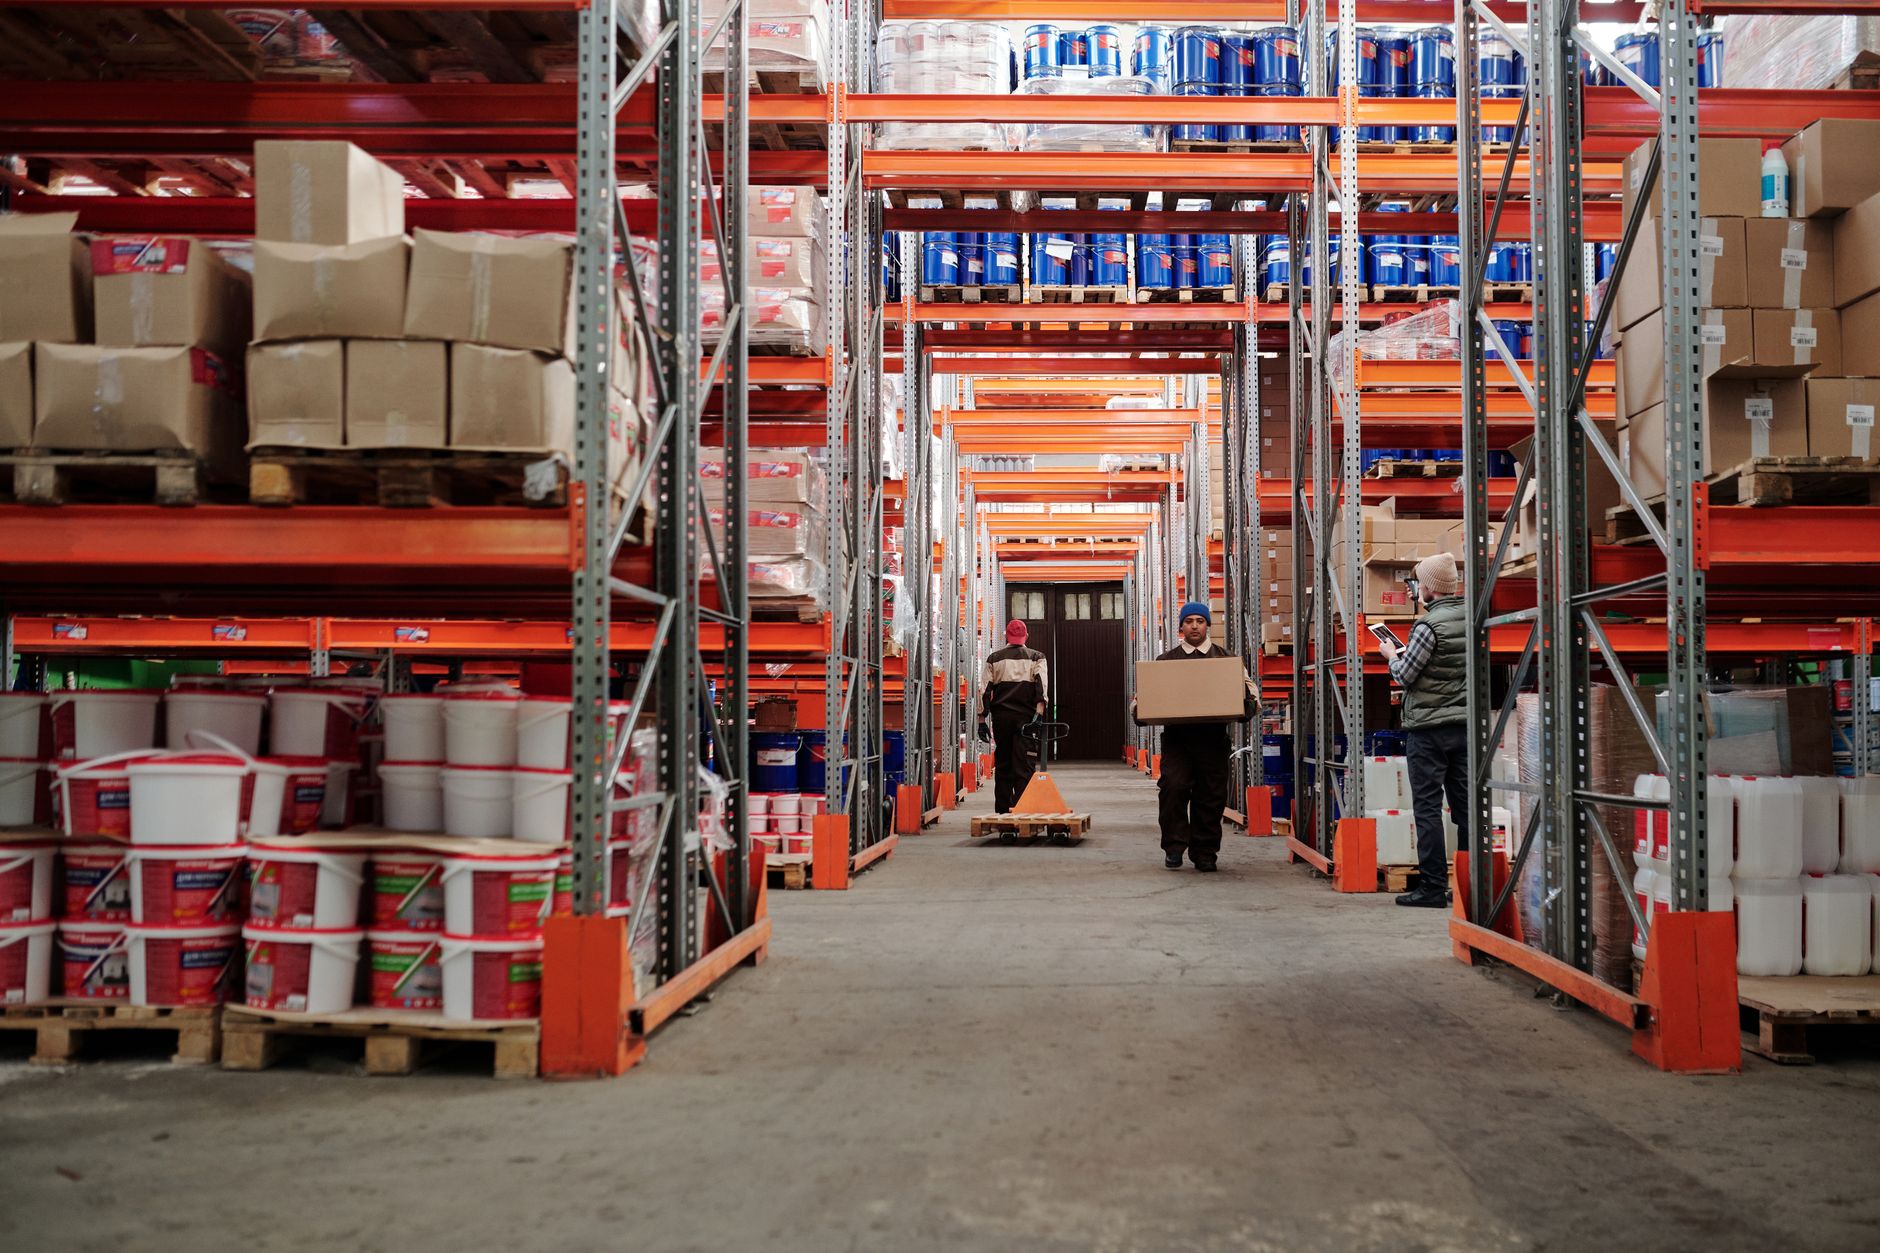
- Counterbalance forklift (the PH workhorse): needs 3.5 to 4 metres between racks. Cheapest and most versatile equipment; least dense aisle.
- Reach truck: needs 2.7 to 3 metres. Recovers meaningful floor for a higher equipment cost and a flatter-floor requirement.
- Very-narrow-aisle (VNA) trucks: under 2 metres, with wire or rail guidance. Highest density, but demands a super-flat slab, higher capex, and dedicated operators — rarely justified below large scale.
- Cross aisles: add perpendicular aisles every 15 to 25 metres so pickers and trucks can cut across rather than travelling a full row to reach the next.
ABC slotting: put the runners where the feet are
The single biggest driver of picking labour is how far people walk, and slotting — deciding which SKU lives where — controls it. ABC analysis ranks SKUs by how often they are picked: the A items (often around 20% of SKUs) drive the majority of picks, B items the middle, and C items the long, slow tail. Slot A items in the golden zone — closest to dispatch, at waist-to-shoulder height where no bending or reaching is needed — and banish slow C items to the far ends and top levels.
This is not a one-time exercise. Velocity shifts with seasons and product cycles, so re-run the analysis quarterly and re-slot the movers. In a Philippine retail or FMCG operation the Ber-months peak reshuffles which SKUs are hot; a layout slotted for January will be fighting itself by November. Slotting is the cheapest efficiency gain available — it costs analysis and a weekend of moving stock, not capital.
Design the bottlenecks out
Bottlenecks are where flow rate collapses because one stage cannot keep pace with the stages around it. They are predictable, and a good layout designs them out before they form. The usual suspects are packing stations that cannot absorb the picking rate at peak, a single dispatch door serving too many outbound trucks, and put-away crews crossing paths with pickers in shared aisles.
Attack them structurally. Size packing and staging for peak throughput, not average — the day that breaks you is 11.11, not a quiet Tuesday. Physically separate flows that clash: give put-away and picking their own routes where you can, and keep inbound staging clear of outbound staging so the two never contend for the same floor. Watch for the queue that forms before any stage and treat it as a signal that the stage upstream is out of balance.
Plan for growth without paying for empty air
The hardest layout tension is designing for a business that will not hold still. Lock the layout to today's volume and you are re-planning within a year; size everything for a distant future and you pay rent on empty floor for years. The resolution is to design the flow and zones to scale, while only filling the racking you need now.
Leave clear expansion lanes — a block of floor where new racking can drop in without re-routing the whole operation. Keep the dock and staging areas sized for the volume you expect at scale, since those are the hardest to enlarge later. And prefer buildings with a right of first offer on an adjacent unit over leasing empty space today; expansion rights cost nothing monthly, while empty floor costs full rent.
- Reserve an expansion lane so new racking installs without re-routing existing flow.
- Size docks and staging for future peak volume — they are the costliest zones to expand.
- Keep the main flow spine straight and unobstructed so it lengthens rather than bends as you grow.
- Negotiate expansion rights on neighbouring space instead of pre-renting floor you cannot yet fill.
Test the layout on paper first
Before committing racking to concrete, walk the design as a picker would: trace the ten most common orders through the plan and count the steps, turns, and crossings. If A-item orders zigzag the building or inbound trucks cross outbound ones, fix it on the drawing while it is free. A layout that works in AutoCAD but not for your actual forklift operator generates damage and delay every single day of the lease.
Because so much of layout is constrained by the building's shape, dock frontage, and clear height, those constraints are worth knowing before you sign. Reviewing a candidate warehouse with your flow diagram in hand — rather than the owner's floor plan — is the difference between a building you adapt to and one that adapts to you.